
How to Increase VRAM on AMD APUs (UMA Frame Buffer)
If you’re using an AMD APU like Ryzen 5 5600G, you’ve probably noticed that your graphics memory (VRAM) seems lower than expected. That’s because AMD APUs don’t have dedicated graphics memory — they use part of your system RAM instead.
In this post, we’ll understand how VRAM works on APUs, how you can increase it on gigabyte motherboards (or others), and what limits you should keep in mind. I’ve also made a detailed video on this topic — you can find it embedded below.
What is UMA?
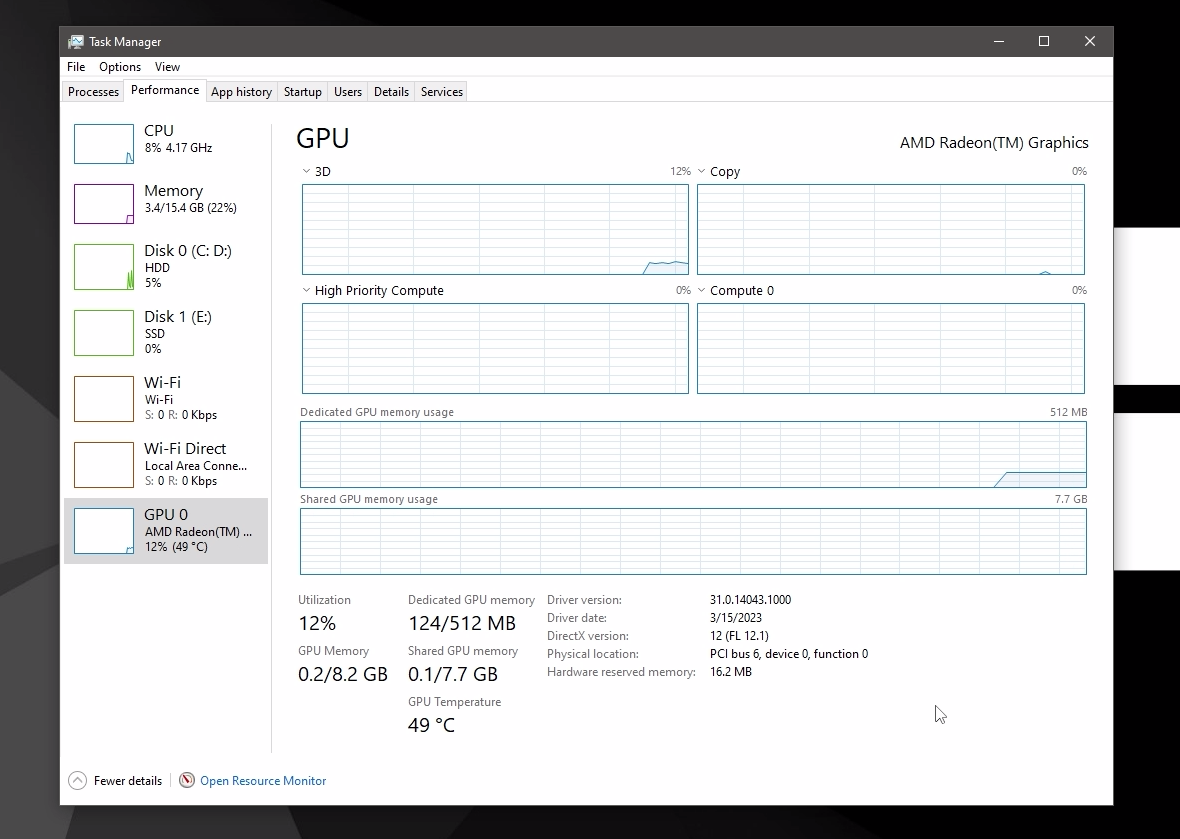
Systems with integrated graphics are based on Unified Memory Architecture (UMA) technology, which means a portion of the system memory is shared with the integrated graphics controller. The amount of shared system memory, also known as UMA frame buffer size, is usually set to Auto in the BIOS by default and does not need adjusting. However, in some situations increasing the UMA frame buffer size may help improve graphics performance in some games.
For example: If you have 8GB RAM, the BIOS might allocate 512MB, 1GB, or 2GB to graphics. The rest remains available for your operating system and apps.
Will Increasing VRAM Improve Gaming Performance?
This is one of the most common questions — and the answer is “it depends.”
Here’s how it works:
-
When your system has too little VRAM, games might struggle to load textures or effects, causing stuttering, lag, or blurry graphics.
-
By giving your APU more memory headroom, those textures can stay in memory longer — reducing the need for constant swapping from RAM or storage.
-
However, if your total system RAM or RAM speed is low, the benefit will be minimal, because both the CPU and GPU share that same pool of memory.
Step-by-Step Tutorial:
-
Restart your PC and As it starts booting, press the BIOS key repeatedly — usually one of these: DEL, F12, ESC, or F10
-
Go To "Settings" Menu, then to "IO Ports"
-
Here, Look for "Integrated Graphics" and set it to Forces
-
Now you'll see UMA Mode, set that to "UMA Specified"
-
If you want to allocate 4GB of RAM or above, Enable "Above 4g Decoding"
-
Next, set "UMA Frame Buffer Size" to the amount of ram you want to allocate e.g 2GB or 4GB
-
Finally, go to the "Save & exit" menu, click on "Save & exit setup" then select "yes"
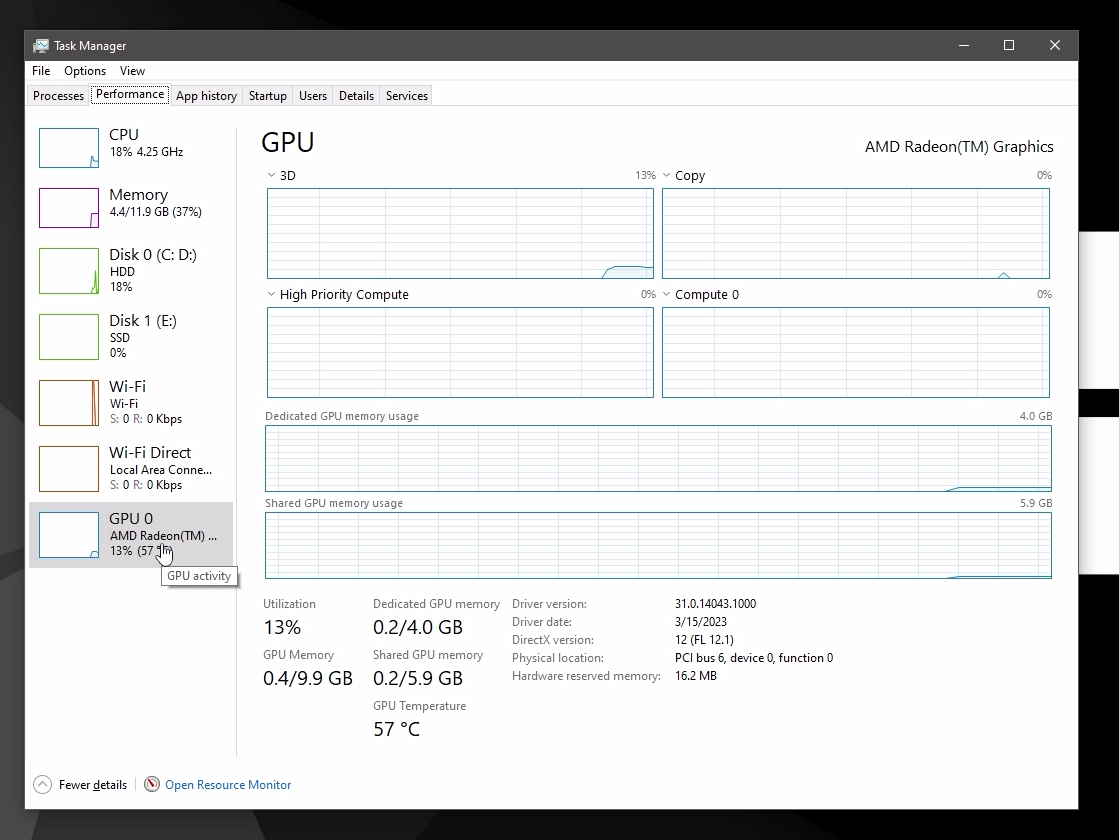
Note: Don't set the "UMA Frame Buffer Size" to more than 1/4th of your ram for optimal performance.
Need a Video Tutorial?
I also have a video on this tutorial on the LWT youtube channel:
Thanks for Reading!
I'll be posting more tech tutorials and reviews regularly. Thank you for being part of this journey! 🙌
Comment Below for any queries or suggestions. 📩