Introduction
How to Replace Your Motherboard's CMOS Battery -
Welcome to Living With Tech, In this article, we will explore how to safely replace the CMOS battery on your motherboard — from identifying the warning signs of a dying battery and gathering the right tools to step-by-step replacement and BIOS reconfiguration.
Signs Your CMOS Battery is Dying
CMOS (Complementary Metal-Oxide-Semiconductor) batteries usually last between 3 to 10 years. When the battery starts to fail, your system will lose low-level motherboard settings whenever the PC is unplugged or powered down.
Recognizing these early warning signs will help you fix the issue before experiencing severe boot delays.
System Clock Resets – The system time and date revert to 00:00 or an old default date after every shutdown
CMOS Checksum Error – Bootup displays messages like "CMOS Checksum Error" or "Press F1 to Run SETUP"
Loss of BIOS Settings – Custom memory profiles (XMP/EXPO) and fan curves reset back to factory defaults
Peripherals Not Responding – USB keyboards and mice fail to initialize properly during startup
Essential Tools for Replacement
Before opening your computer case, make sure you have the following basic tools ready. Replacing a motherboard battery requires minimal hardware.
CR2032 3V Battery – Standard 3-Volt lithium coin cell battery used by 99% of motherboards
Screwdriver – For removing the PC side panel and graphics card screws
Non-Conductive Pry Tool – A plastic spudger or small flathead screwdriver to release the battery clip
Anti-Static Protection – Grounding yourself by touching metal to prevent electrostatic discharge
Step-by-Step CMOS Battery Replacement
Step 1: Safety & Power Drain – Shut down your PC, flip the PSU switch to OFF, unplug the power cable, and hold the physical power button for 10-15 seconds to discharge residual power.
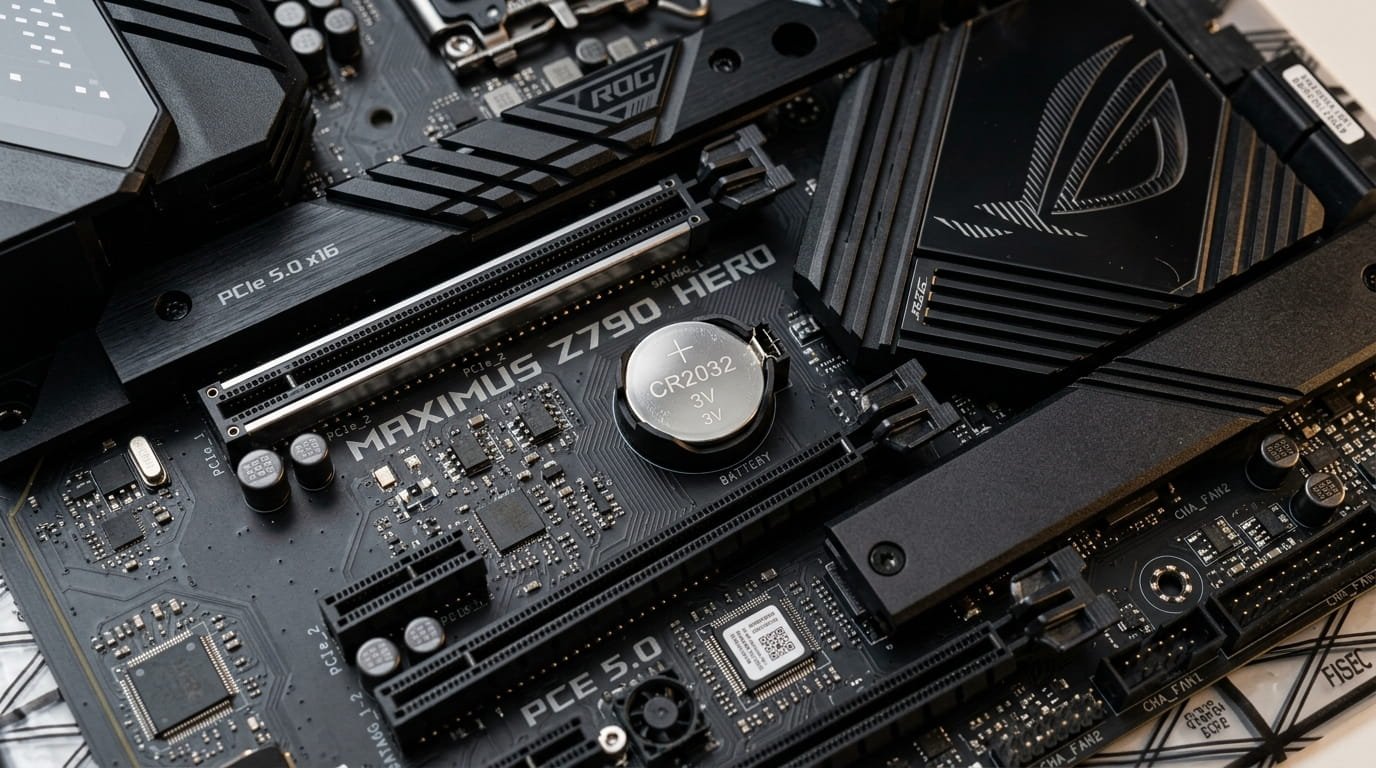
Step 2: Locate the Battery – Remove the side panel and find the silver coin battery. If it is hidden under your Graphics Card (GPU), unlock the PCIe latch and carefully remove the GPU first.
Step 3: Swap and Reassemble – Press the metal retaining clip outward to pop out the old battery. Insert the new CR2032 battery with the positive (+) side facing UP until it clicks, then reassemble your PC.
Safety First – Always unplug AC power before touching internal motherboard components
Correct Orientation – Ensure the (+) marking is visible facing toward you
Firm Seating – Verify the retaining latch snaps securely over the edge of the battery
Post-Replacement BIOS Configuration
Because removing the battery resets your motherboard to factory default settings, you will need to reconfigure a few key options in your BIOS/UEFI screen upon first boot.
Tap your BIOS key (e.g. DEL or F2) repeatedly as your computer starts up to enter the BIOS menu.
UMA Settings (VRAM Increase) – Check Out This Blog Here
Enable Secure Boot – Check Out This Blog Here
Enable XMP / EXPO – Re-enable high-speed memory profiles for optimal RAM performance (Check Our Youtube Short For the tutorial)
Verify Boot Priority – Confirm your primary SSD or hard drive is set as the first boot device
Save & Exit – Press F10 to save changes and restart into your operating system
You Might Also Like
How to Control RGBs & Fans on Gigabyte Motherboards.
Thanks for Reading!
I'll be posting more tech tutorials and reviews regularly. Thank you for being part of this journey! 🙌
Join Today! Sign Up for Free Here.
LWT Discord Server - Discord.
Comment Below for any queries or suggestions. 📩